How to make a Button Blanket
Here is a step by step process of making a Button Blanket. I am assisted in this process by three of my students Katrina Husband, Rhoda Thompson and Raven LeBlanc Pearson who created two blankets each. The students mentored for the summer and created one blanket for themselves and one to be gifted to the Haida Children's Dance Group. We also gifted a blanket to the Queen Charlotte Secondary School for the use of their Home Ec. Room and sewing machines.
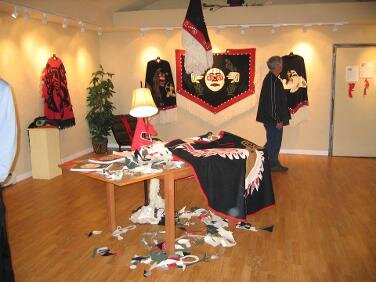
We had a gallery opening "Creative Chaos" at On The Rock Gallery. I hope this helps anyone who is trying to learn.
Have Fun!
Yolonda Skelton

Materials
Blanket
The blanket is made of wool, melton, cashmere or sable suede, depending on weight and expense.
Design
The design is made out of Ultrasuede, as it doesn’t fray.
Buttons
You can use any style and size of buttons you want.
Steps
Step 1: Cut out your blanket based on your size measurements
Step 4: Project the image onto the wall. Tape up your heat and bond.
Step 6 (cont’d…)
Step 7: Make sure you have all the pieces and peel off backing.
Step 10: Sew on design.
Step 13: Sew fringe onto your blanket. Add finishing touches and you are done
Step 2: Cut out trim and stitch to the edge of the blanket.
Step 5: Trace design onto the heat and bond, then iron it onto the backside of your Ultrasuede.
Step 6 (cont’d…)
Step 8: Lay out design onto blanket.
Step 11: Add buttons and any other ties to fit blanket.
Step 3: Design your crest and photocopy it onto a transparency
Step 6: Cut your design using fine scissors or olfa knife.
Step 6 (cont’d…)
Step 9: Iron design onto blanket using a press cloth.
Step 12: Cut and sew fringe into a bias tape binding.